its heated with heat tape and controlled by a 110 v Chinese digital thermostat model# MH1210F and its in ferenhite. its not the STC1000 but its absolutely working great! I friggin love it and I am complety sold on these! it was fairly easy to understand the Chinese to English translation. I have it set for 101F with a slewing range of 2F so it will turn back on at 99F creating an average temperature off 100. the greatest thinig about this thermostat is straight out of the box its default settings are ready to go for poultry incubation! i didnt realize that until it was unplugged for many months, loosing the settings that i set. they will retain them for a certain amount of time in the event of power outages and such. but it was ready to go! sweet deal!
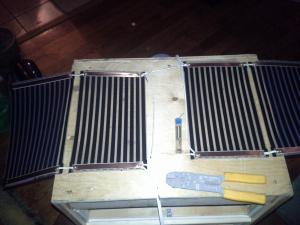
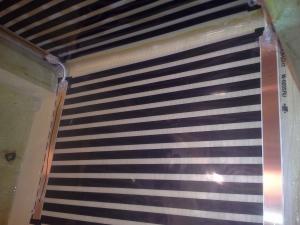
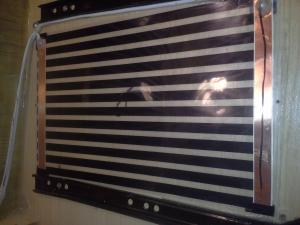
there are 8 different panels of heat tape, one on each side of both drawers, back, bottom and 2 on the top leaving room for screws in the middle.
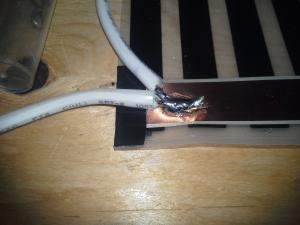
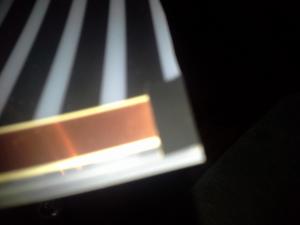
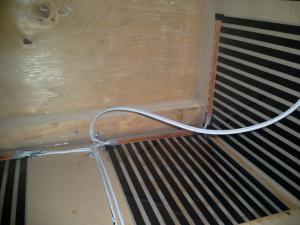
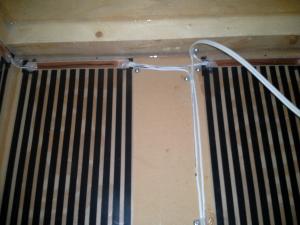
wiring up heat tape is very simple. you cut to length in between the black blocks which are the heating element. put electrical tape over the exposed copper on each side. you could buy the wiring kit for the tape and the tools to connect it or you can solder it together. use the soldering iron to expose the copper on each side just big enough to make a good connection. scrape the melted plastic off with a small flat head screwdriver then solder your wire to the exposed copper. you might melt the plastic on the opposite side of the heat tape so check and just cover it with electrical tape. once the wire is soldered make sure its connected well and cover the connection with silicon to insulate it. I siliconed the heat tape in place to the cabinet. I also clamped down every single wire with clamps to firmly hold them in place.
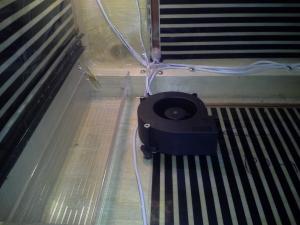
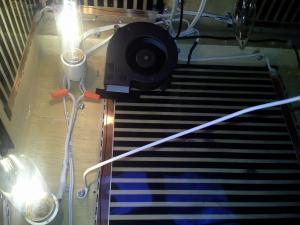
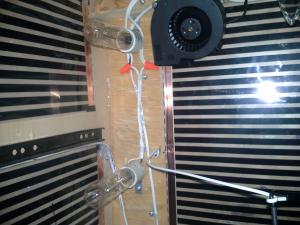
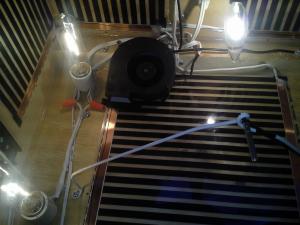
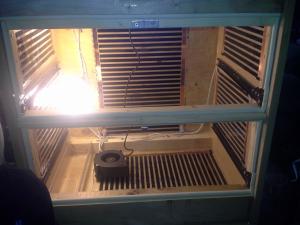
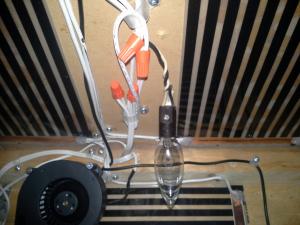
I put a 25 watt tubular incandescent light bulb on the left side of each drawer for light and a little bit of heat. i also wired up a small incandescent bulb as a pilot light. I wasnt going to but I did so i could quickly tell if the heating circuit was actually on and working.
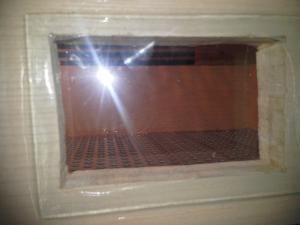
I slightly adjusted the drawers for clearance and beefed up the cabinet considerably. i replaced both the bottom and back with plywood. all exposed fake wood and all joints are sealed with silicon. the bottom of the drawers are made out of some perforated aluminum sheeting I had on hand, friggin perfect!
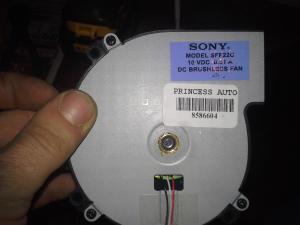
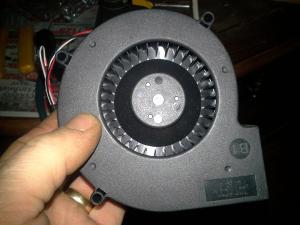
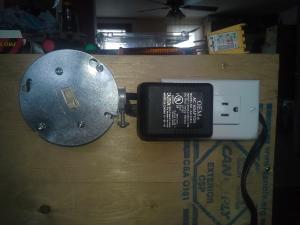
I picked up 2 very good sony 10 volt fans from princess auto for 5 bucks a piece and they move quite a bit of air connected to a 9 volt transformer. one is mounted on the top on the side with the light bulbs blowing down on an angle across the back and the other is on the bottom blowing right. neither is blowing directly on the hatching trays.
I used the same humidity set up as i did on the incubator minus the 90* elbow. I used just the hose instead. its gravity fed and fills the water tray automatically.
the switch on the back turns the incubator off but not the fan or the extra plug. im going to use the extra plug for an incubator OR it could be used to power a couple hovabator egg turners which will fit in the drawers!!! see........ I was thinking
think thats about it...... time for pics eh???
CHEERS!!!
Al
:running-chicken:
- 20150305_175243183554335.jpg (13.08 KiB) Viewed 48731 times
- 20150305_1751481693289061.jpg (16.33 KiB) Viewed 48731 times
- 20150305_1752181095594212.jpg (12.87 KiB) Viewed 48731 times
- 20150305_1814371156307686.jpg (7.95 KiB) Viewed 48731 times
- 20150305_1844251457776348.jpg (9.28 KiB) Viewed 48731 times

- 20150303_234631-1158050700.jpg (12.65 KiB) Viewed 48731 times
- 20150303_234642-765249291.jpg (9.62 KiB) Viewed 48731 times
- 20150303_234651436720525.jpg (5.78 KiB) Viewed 48731 times
- 20150304_011501-840833201.jpg (13.02 KiB) Viewed 48731 times
- 20150304_011515-326952003.jpg (12.66 KiB) Viewed 48731 times
- 20150304_0048471980341789.jpg (7.95 KiB) Viewed 48731 times
- 20150304_0048561378291279.jpg (11.46 KiB) Viewed 48731 times
- 20150305_132106-1278989946.jpg (13.86 KiB) Viewed 48731 times
- 20150305_132123-596890302.jpg (12.9 KiB) Viewed 48731 times
- 20150305_132145-624238629.jpg (11.76 KiB) Viewed 48731 times
- 20150305_132344-1957762864.jpg (9.71 KiB) Viewed 48731 times
- 20150305_175152-1486909210.jpg (15.46 KiB) Viewed 48731 times
- 20150305_17535753868186.jpg (12.69 KiB) Viewed 48731 times